Now that your site is structured and enriched withStep 4, if you want to sell online, it's time to turn your site into a real e-commerce store.
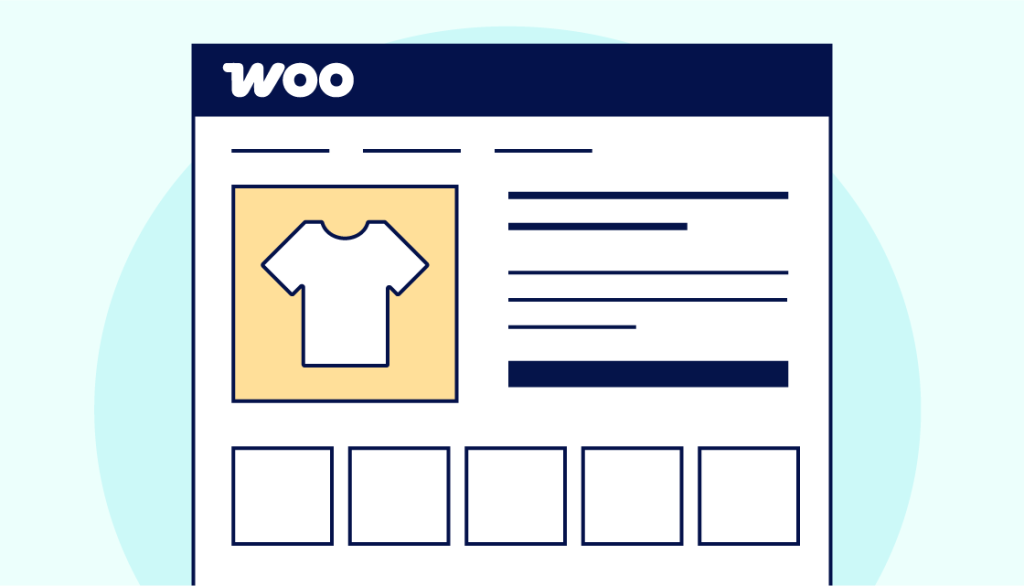
Thanks to WooCommerce, pre-installed and integrated into your Site Builder, creating and managing your store is quick and easy, even without technical knowledge. WooCommerce is the world's most popular e-commerce solution, chosen by millions of online stores.
In this optional step, you will learn how to add your products, configure payment and delivery options, and effectively manage your e-commerce business.
Summary
Why sell online with your website?
Launching an e-commerce store offers many advantages for growing your business.
Sell 24/7 without geographical limitations
Your online store is always open, allowing your customers to order at any time, day or night. You can sell throughout Morocco, or even internationally, without the constraints of a physical store.
Reduce your operating costs
Compared to a traditional store, an online store requires less investment: no high commercial rent, fewer staff, and reduced management costs.
Reach a wider customer base
The internet gives you access to millions of potential customers. With good SEO, your store can be discovered by people who would never have found you otherwise.
Track and analyze your performance
WooCommerce provides you with detailed statistics: best-selling products, average basket size, conversion rate. This data allows you to continuously optimize your sales strategy.
Add your first products
Adding products in WooCommerce is simple and intuitive. Follow these steps to create your first product listings.
Go to the Products section
From your WordPress dashboard, go to the Products menu in the sidebar, then click Add Product.
Fill in the essential information
Each product requires several key pieces of information in order to be published.
Product name
Give your product a clear and descriptive name. Include the main features if relevant:
- Product: “Natural Argan Oil Soap, 100g”
- Not as good: “Soap”
Detailed description
Write a comprehensive and compelling description that includes:
- Product benefits: How it improves the customer's life
- Technical specifications: Dimensions, weight, composition, materials
- Instructions for use: How to use the product effectively
- Warranties: Warranty period, return policy
- Reassurance factors: Certifications, quality labels
Tip: You can use AI to help you write professional, optimized descriptions.
Short description
Add a summary description of 2-3 sentences that will appear at the top of the product page. This is your hook to immediately grab attention.
Product price
Set the selling price for your product:
- Regular price: The normal retail price
- Promotional price (optional): To display a crossed-out price and a discount
- The currency is the one configured in the WooCommerce settings.
Add high-quality images
Images are crucial for selling online. Customers cannot touch the product, so they need to see it clearly.
Main image
- Choose the photo that best represents your product
- Use a neutral or contextualized background depending on your style.
- Ensure good brightness and sharpness.
- Recommended format: square
Image gallery
- Add 3 to 8 additional photos showing different angles
- Include photos showing how the product is used or in context.
- Show important details (label, finishes, texture)
- Use photos that are consistent in style
Configure product options
WooCommerce offers several options to refine the management of your products.
Inventory management
- Enable inventory management: To automatically track quantities
- Quantity in stock: How many units available
- Allow backorders: If you accept preorders
- Stock status: In stock, out of stock, pre-order
Dimensions and weight
- Weight: Important for calculating shipping costs
- Dimensions (L x W x H): For transport and packaging
Product variations
If your product comes in multiple versions (sizes, colors, models):
- Select “Variable product” under Product type
- Create attributes (e.g., Size, Color)
- Define variations with their specific prices and inventories
Publish your product
Once you have filled in all the information, click Publish to put your product online immediately. You can also save it as a draft to finalize it later.
Organize your store efficiently
A well-organized store makes it easier for your customers to navigate and improves your sales.
Create product categories
Organize your products into logical categories:
- Go to Products > Categories
- Create main categories (e.g., Clothing, Accessories, Shoes)
- Create subcategories if necessary (e.g., Clothing > T-shirts)
- Assign each product to its appropriate category.
Add tags
Labels enable cross-functional classification:
- Create descriptive tags (e.g., “organic,” “new,” “bestseller”)
- Add several relevant tags to each product
- Customers can filter by tags to find what they are looking for.
Define featured products
Showcase your best products:
- Check the “Featured Product” box for your best-sellers
- These products will appear first on your home page.
- Ideal for new products or promotions
Create an attractive store page
Customize the appearance of your store page:
- Add an eye-catching banner at the top of the page
- Set the number of products per page (12-24 recommended)
- Activate filters (price, categories, attributes)
- Choose the display: grid or list
Set up payments and delivery
To sell online, you must set up payment methods and delivery options.
General store configuration
Go to WooCommerce > Settings > General:
- Base country: Morocco (or your location)
- Currency: MAD (Moroccan dirham) or other depending on your market
- Currency symbol: Position before or after the price
- Decimal separator: Comma or period, depending on your preference
Set up payment methods
Go to WooCommerce > Settings > Payments to enable the methods:
Cash on Delivery
- Most popular method in Morocco
- The customer pays the delivery person in cash.
- Easy to set up, no integration required
- Ideal for getting started quickly
Direct bank transfer
- The customer makes a transfer to your account.
- You confirm the order after receiving payment.
- Add your bank details (RIB)
PayPal
- Secure online payment by credit card
- Requires a PayPal Business account
- Transaction fees: approximately 3.4% + fixed fee
- Instant payments
Other payment gateways
- CMI (Morocco-Telecommerce): Moroccan solution for local bank cards
- Stripe: International card payments
- PayZone: Popular Moroccan solution
You can install these extensions from WooCommerce > Extensions.
Set up delivery options
Go to WooCommerce > Settings > Shipping:
Create delivery zones
- Local area: Your city (e.g., Casablanca, Rabat)
- National area: Rest of Morocco
- International Zone: If you ship internationally
Define methods by area
For each zone, add the available methods:
- Free shipping: From a minimum amount or always
- Flat rate: Fixed price regardless of the order
- Price per class: Price according to product type
- In-store pickup: If you have a pickup location
Delivery partners in Morocco
You can work with specialized delivery companies:
- Amana: Leader in delivery in Morocco
- CTM: Reliable nationwide delivery
- Jumia Services: E-commerce logistics solutions
- Glovo: Fast delivery in the city
Set up taxes (optional)
If you need to charge VAT:
- Go to WooCommerce > Settings > Taxes
- Enable taxes
- Set the Moroccan VAT rate (20% standard)
- Configure whether the prices displayed include or exclude VAT.
Manage your store on a daily basis

WooCommerce provides you with all the tools you need to effectively manage your e-commerce business.
E-commerce dashboard
The WooCommerce dashboard gives you an overview:
- Revenue: Daily, weekly, and monthly sales
- Orders in progress: To be processed, in preparation, delivered
- Out-of-stock products: To restock quickly
- Top products: Your best sellers
Process orders
Go to WooCommerce > Orders to manage your sales:
- New order: Prepare and package the product
- In progress: Mark as “Completed” after shipment
- Completed: Order delivered and paid for
- Cancelled/Refunded: Manage returns if necessary
Communicating with customers
WooCommerce automatically sends emails:
- Order confirmation: As soon as a customer places an order
- Order in progress: When you confirm the order
- Order completed: After delivery
- Invoice: Accounting document
You can customize these emails in WooCommerce > Settings > Emails.
Track your performance
Use WooCommerce reports to analyze your results:
- Sales by period: Day, week, month, year
- Best-selling products: Identify your best sellers
- Average basket: Average order value
- Conversion rate: Percentage of visitors who make a purchase
Important tip
Accurate descriptions and high-quality photos reassure your customers and boost your sales. Invest time in your product listings: they are your 24/7 salespeople. A good description can make the difference between a sale and an abandoned cart.
Also consider adding customer reviews, warranties, and a clear return policy to inspire confidence and reduce hesitation to purchase.
Next step
Congratulations! Your online store is now up and running and ready to receive your first orders.
Proceed toStep 6 to optimize your site's essential settings (SEO, favicon, legal notices) and maximize your visibility and credibility:
→ Step 6: Optimize your website settings
Overview of the 7 steps
- Create your site with AI
- Edit text and images
- Structure navigation (header/footer)
- Add pages to your site
- Launch an online store (optional) (you are here)
- Optimize your site settings
- Publish your website online
For more information:
- Complete e-commerce guide
- Complete guide to website creation
- Discover the Nindohost AI Site Builder
- All our guides to hosting and web design
Guide updated: February 2026