WordPress AI combines the power of WordPress with artificial intelligence to help you create a professional website much faster, even if you're just starting out. By answering a few simple questions, AI helps you define the structure, design, and content of your site.
In this guide, we will walk you through the seven steps of the WordPress AI wizard, from your project idea to the creation of your first landing page. You can then continue with our WordPress guides to customize, secure, and optimize your site.
Summary
- Step 1: Start creating your website with AI
- Step 2: Choose the topic and sector for your website
- Step 3: Choose a name for your site
- Step 4: Define your objectives
- Step 5: Choose the structure (single page or multiple pages)
- Step 6: Select a suitable design
- Step 7: Define your message and tone
- After generation: customize your site
Step 1: Start creating your website with AI
In this first step, you launch the WordPress AI wizard and lay the groundwork for your project. The AI will use your answers to automatically generate an initial version of the site tailored to your needs.
Before you begin, take a minute to clarify:
- The main purpose of your website (presenting an activity, selling online, generating appointments, sharing content, etc.).
- Your target audience (individuals, businesses, local customers, international audience, etc.).
- The important features you envision from the outset (contact form, blog, product catalog, appointment scheduling, etc.).
The more precise your answers are, the more the AI will be able to generate a website template that is consistent with your project.

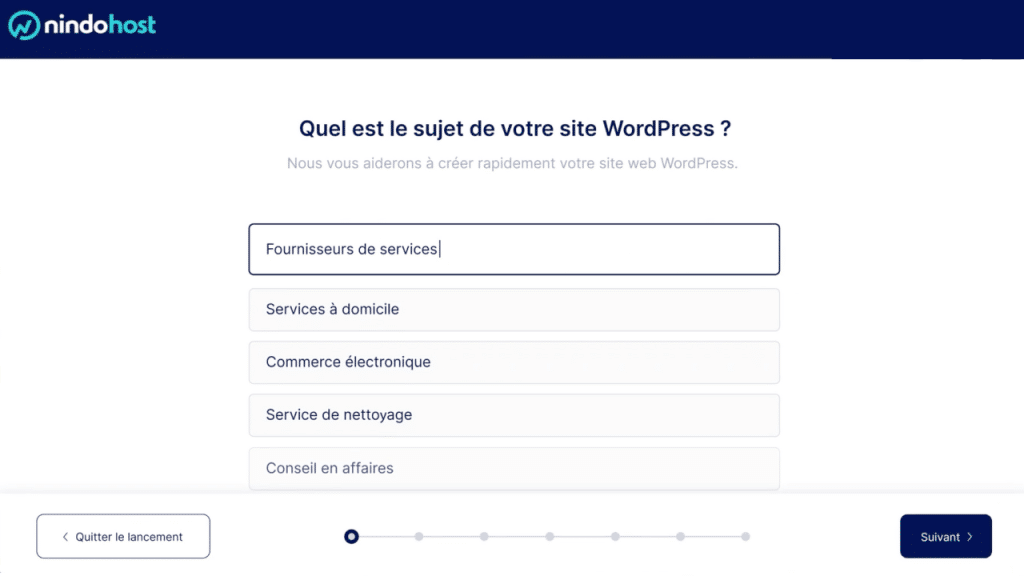
Step 2: Choose the topic and sector for your website
WordPress AI then asks you to define the topic and industry of your site. This allows the AI to tailor the texts, sections, and page suggestions to your business.
Consider:
- Your main activity: services, commerce, consulting, catering, wellness, training, etc.
- Your niche: for example, "online fitness coach" rather than simply "coach," "baking workshop in Casablanca" rather than "baking."
- Your customers' needs: information, making contact, quick purchase, reservation, etc.
The assistant provides you with a list of common sectors (services, e-commerce, consulting, cleaning, etc.). Choose the one that best matches your business: it will serve as the basis for the structure and texts generated.
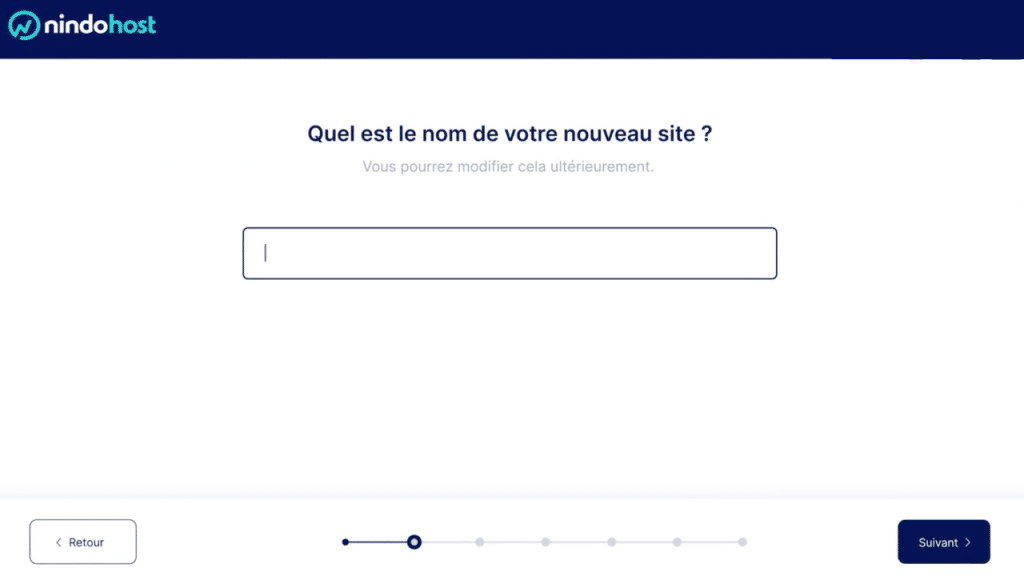
Step 3: Choose a name for your site
The name of your website is often the first thing your visitors will see. It is important for your brand image and for memorability.
In this step, WordPress AI asks you to enter:
- The name of your website (often identical to the name of your brand or business).
- Possibly a subtitle or short sentence that summarizes what you do.
Some best practices:
- Choose a name that is easy to remember and pronounce.
- Avoid names that are too long or complicated.
- If possible, verify that the domain name guidefor domain names).
You can always adjust this name later in WordPress, but this is an opportunity to establish a clear identity from the outset.
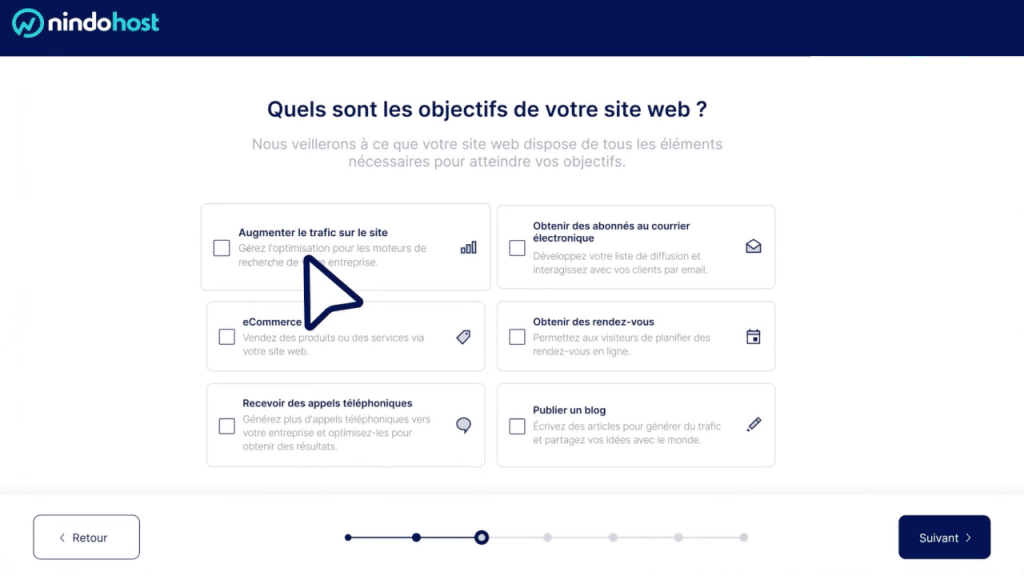
Step 4: Define your objectives
In order for AI to generate a website that aligns with your strategy, you must specify the main objectives of your website.
Some examples of common objectives:
- Present your company and inspire confidence.
- Obtain contacts (form, calls, quote requests).
- Develop your e-commerce (online sales with WooCommerce).
- Gain subscribers to your newsletter.
- Publish content (blog, news, resources).
Choose 1 to 3 priority goals. This will help the AI adapt:
- promoting calls to action;
- the structure of the home page;
- the most important sections (services, testimonials, blog, etc.).
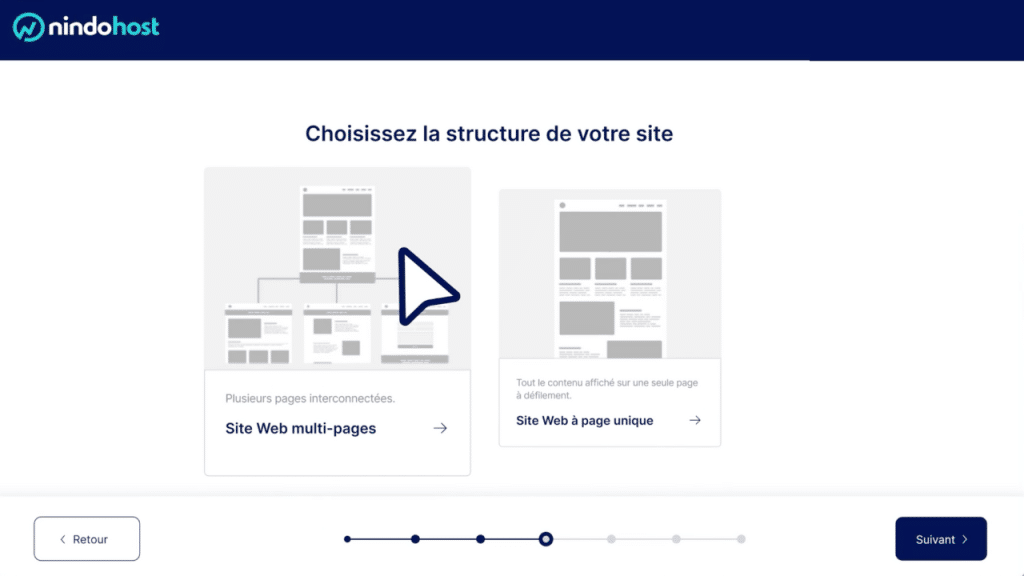
Step 5: Choose the structure of your site
WordPress AI then asks you to choose the overall structure of your site:
- Multi-page website: ideal for businesses with multiple services, sections, or a blog. This allows for clear navigation between Home, About, Services, Contact, etc.
- Single-page website (landing page): suitable for a specific offer, marketing campaign, registration page, or simple presentation.
To make the right choice, ask yourself:
- How much different content do you need to present?
- Do your visitors need to detail your services over several pages?
- Or, on the contrary, is a clear and well-structured page sufficient to achieve your objectives?
Whichever option you choose, you can then add, edit, or delete pages directly in WordPress. The structure generated by the AI is a foundation that you can build on.
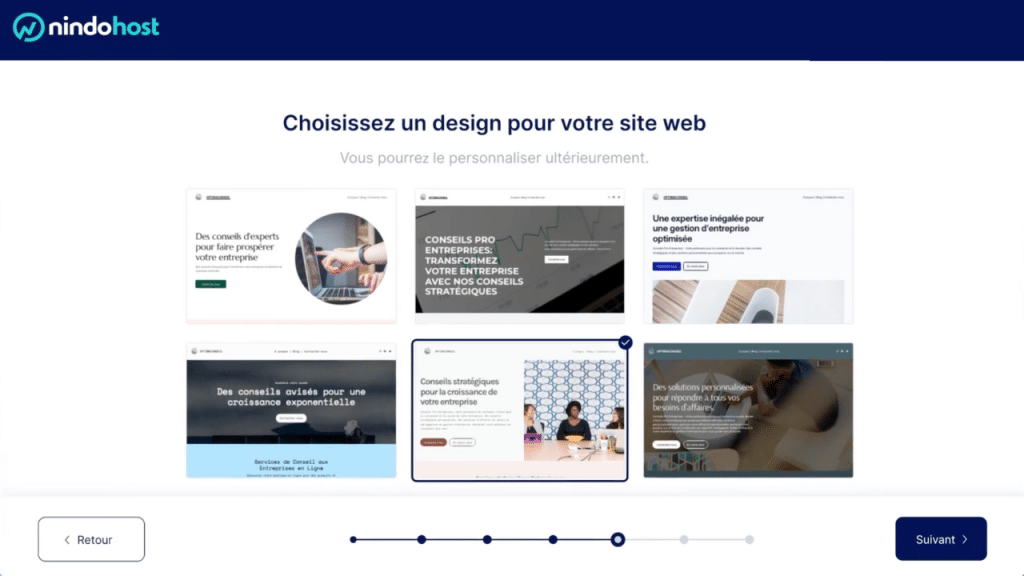
Step 6: Select a design that represents you
Design plays a key role in your brand image and user experience. WordPress AI offers a selection of templates tailored to your industry, which you can then customize.
During this step, remember to:
- Your colors: preferably use the colors of your logo or your graphic charter.
- Your typography: choose fonts that are legible and consistent with your style (modern, classic, minimalist, etc.).
- The general impression: serious and professional, warm and friendly, creative, etc.
Select the design that best suits your style: you can then adjust the sections, images, and styles directly in the WordPress editor.
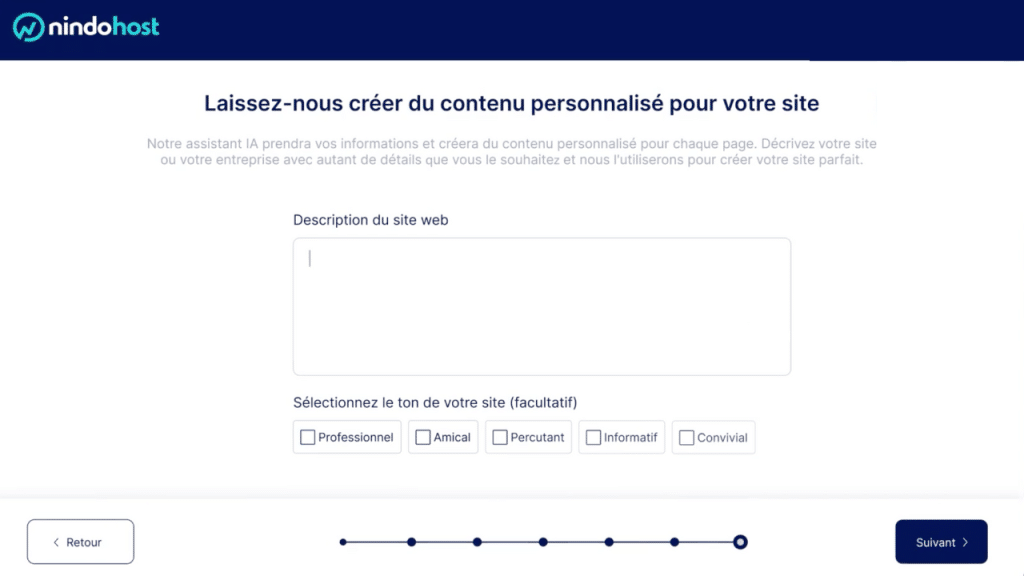
Step 7: Define your message and tone
Finally, the WordPress AI assistant asks you to specify your main message and the tone of communication you want to use. These elements are used by the AI to generate appropriate texts.
Start by answering a few questions:
- What exactly do you do? (Describe your services or products in a few clear sentences.)
- Who are you targeting? (type of customers, sector, location)
- What makes you unique (experience, approach, positioning, values)
Then choose a tone that matches your brand:
- Professional and formal: for regulated professions, B2B, premium services.
- Accessible and user-friendly: for a more human approach that is closer to your customers' everyday lives.
- Direct and impactful: for marketing offers, campaigns, or sales pages.
WordPress AI uses this information to suggest initial text that you can then refine in the editor (see our guide "Editing text and images" if you are also using the AI Site Builder).
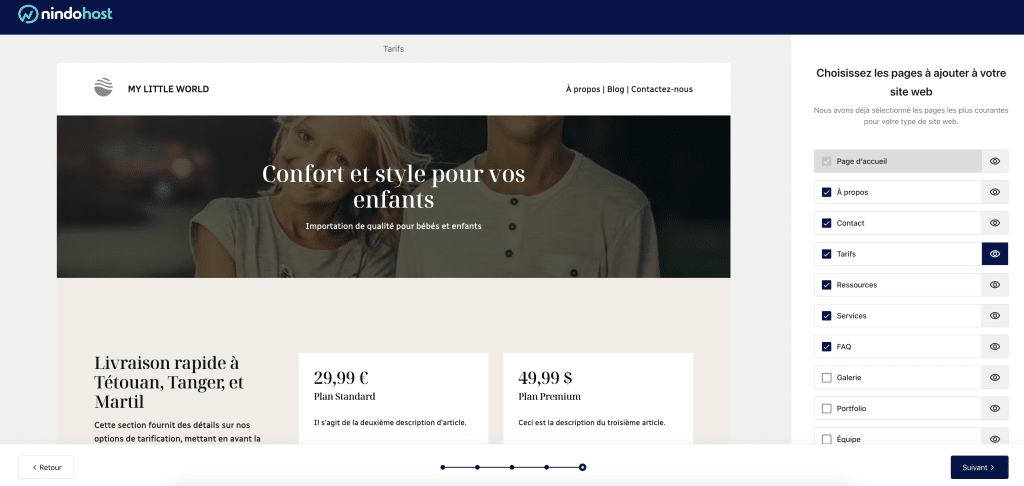
Final step: your AI-generated landing page
Once these 7 steps are complete, WordPress AI automatically generates a complete landing page, including:
- a structure tailored to your objectives;
- a design consistent with your industry;
- basic texts inspired by the information you have provided.
You can immediately preview this page, then start editing it in WordPress (sections, text, images, buttons, etc.).
Next: customize, secure, and optimize your site
Once your site has been generated with WordPress AI, you can take it further with our specialized guides:
- WordPress: Complete Guide – Understanding and Mastering WordPress (installation, themes, plugins, etc.).
- WordPress SEO – Improve your visibility on Google.
- E-commerce guide – Launch an online store with WooCommerce.
- SSL Certificate – Secure your site with HTTPS.
- Website creation guide – Overview of different methods (WordPress, Site Builder, custom development).
The screenshots already included in this guide remain valid and illustrate each step of the WordPress AI wizard.
Guide updated: February 2026